Wednesday, March 30, 2011

Shirred Curtain/ How to

I needed some new curtains to go with my new bathroom. So I had and idea to shirr a curtain to add a little “pop” but I didn’t anticipate how beautiful they would be.  I LOVE THEM, I just love the look of them they turned out better than I imagined.  Now I want to make more for my daughters bedrooms.  Oh and they were super easy to make just a little elastic thread and a pre-made $5.00 curtain. 
052
This is how I did it.
You’ll need a spool of elastic thread. 
061
and an empty bobbin.
059
Loosely wrap the elastic thread around your bobbin until it is full. 
060064
Then place it in you machine just like you normally would.  Set your stich length to the longest stich and get sewing.

Make sure you have your curtain right side up while you sew.  Don’t forget to go back and forth at the beginning and the end.
022
Keep sewing right side up until you have the desired width.
020
I used both of my hands to smooth out the un-shirred part and to help guide it through the machine. 
sewing-001 (276x184) (2)
024
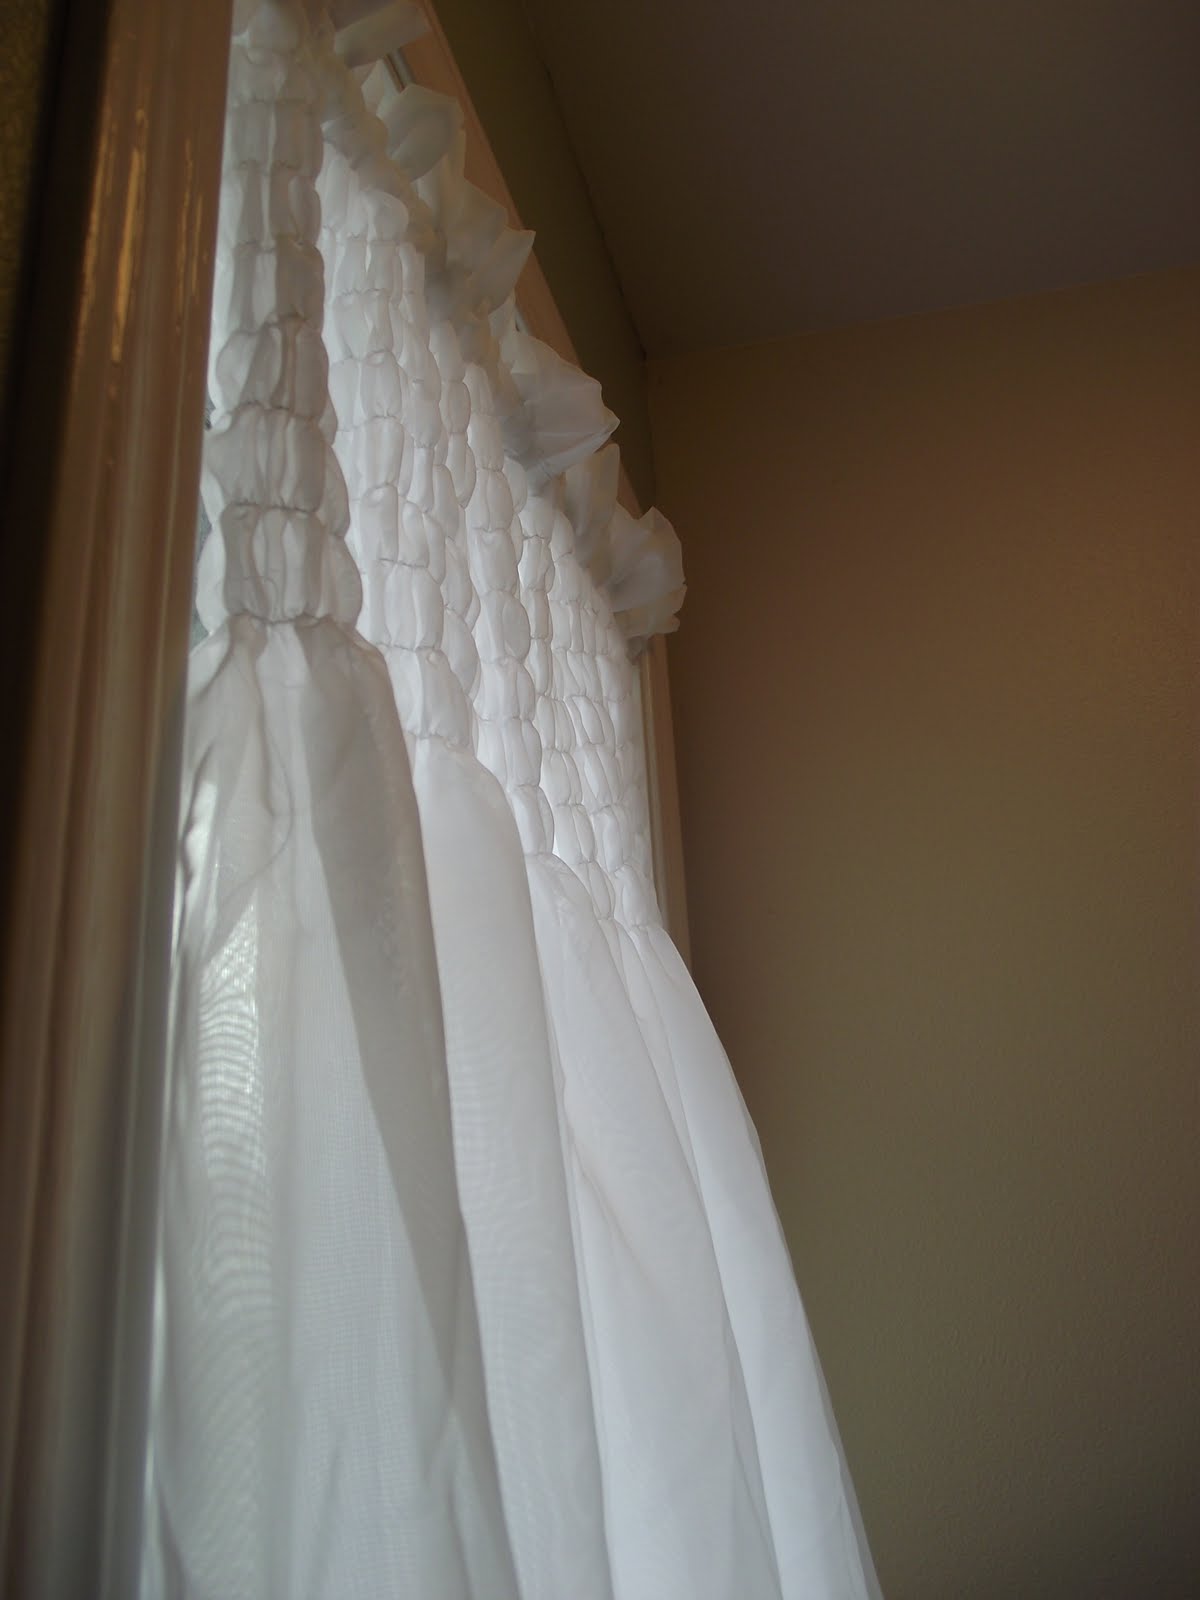
My original plan was to shirr the whole curtain (actually my original plan was to to something a little different) but I liked it like this a little better.  I still want to try the original plan for something though so stay tuned.
049052057
066069
So in the end I used one really long curtain.  I cut it in half and used both ends to fill up the window.  I could have used half of it and shirred less rows and it would have worked too. 
LIKE THIS
011
I also thought about making a valence.
LIKE THIS (kind of, I didn’t make the valence so I didn’t finish it off)
013
But since I had the curtain I used all of it
LIKE THIS
065

Thursday, March 24, 2011

Cherry Blossoms

I needed some art for my bathroom redo.  I have some seriously awesome artists in my family (like people who actually sell their stuff) but alas I DID NOT GET ANY OF THAT TALENT, I have zero artistic ability, but what I do have are mad cutting skills so after the trashcan went so well I decided to do more contact paper art. Each picture cost me about $4.00 to make… so YEAH!


024

I started off with these they cost me $8.something for the 3-pack.              @ (Wal-Mart)
002
Then I painted them all burnt umber. I liked the lines in the paint so I only did one coat of burnt umber.  The paint was like $1.something
005
When I was doing the trashcan I noticed the cherry blossoms in my clipart and I knew then, I would be using them.  I just enlarged them to the size I wanted, then I cut my contact paper to 8.5 X 11 and put it through my printer.   Then came the fun part, cutting them all out.
008
After they were all cut out I placed them on the canvas.
009
And carefully painted over the top of them.
010
I added two coats of white and peeled the contact paper off as soon as I was done with the second coat, while it was still wet.
011012020025
I’ll show you how it all came together when I do my big bathroom reveal. (hopefully soon)

Tuesday, March 22, 2011

Italian Tomato Alfredo

I came up with this recipe one day when I need something fast to bring to a friend.  It is a quick and tasty recipe that uses canned tomatoes and alfredo sauce for a little different twist on an old favorite.
  • 1 package of fettuccini noodles cooked to package directions
The Sauce
  • 1 jar of your favorite alfredo sauce or you can make it from scratch
  • 1 can of Italian diced tomatoes. Or you can use the regular diced tomatoes and add some Italian seasoning. ( I usually don’t drain the Italian tomatoes but if I use the regular tomatoes then I drain them.)
  • 1 jar of sliced olives
  • 2 cups cubed cooked chicken breasts
  • 1-2 medium zucchini diced small.
010
004

ENJOY!

Monday, March 21, 2011

Harry Potter Wand

My kids love Harry Potter.  They play it constantly and they have wanted real wooded wands forever, but the ones we saw were $50.00!  We have 5 kids and that was never going to happen (okay even if we had 1 kid I wouldn’t pay that kind of money). BUT my husband has always liked to carve stuff so he decided he would make them each a wooden wand for their birthday.  I got him a carving set from Michaels for Christmas so he could carve them and all he used was one wooden dowel (and stain) and he got 4 wands out of it!  Our kids love H.P so much that they wanted certain characters wands. So we went online and they all picked out the wand they wanted.  He finished the first wand just in time for #2’s #7 (Ginny’s wand).  She LOVES it and it turned out really well.

033040

Before & After

049

Tuesday, March 15, 2011

Irish Soda Bread

A couple of years ago I was searching for a new recipe for St. Patrick’s day and I came across Irish Soda Bread at allrecipes.  IT IS AWESOME!  Now I make it every year for St. Patrick’s Day and a few other times during the year as well. It’s super easy and delicious.  I have also brought it to school to share with my daughters classes on St. Patty’s Day.  There is always a discussion on allrecipes about  which ones are really traditional but since they’re super tasty I don’t really care.  

Irresistible Irish Soda Bread

Amazingly Easy Irish Soda Bread

Irish Soda Bread

Here is a version that doesn’t use buttermilk ( I haven’t tried this one before). .  Nana Dot’s Irish Soda Bread

But you can always substitute milk + vinegar for buttermilk in a recipe.  1 TBS of vinegar + 1 cup of milk = 1 cup of buttermilk.  You should let the vinegar and milk mixture set for 5 minutes before using it in your recipe

Today I made the Irresistible Irish Soda Bread.   Once you mix all of your ingredients it’s more of a wet biscuit.  I like to bake mine in my circle casserole dish. 

266268270274

It’s so good and super easy to make you should give it a go sometime.

276

“Holy enormous slab of butter batman!”

End table Makeover

Living room makeover project #4 End table

I found this piece at the same time I found my awesome sewing chair.  I have wanted a end table for a while and I loved this one because it has two little drawers in it, perfect for storing my magazines and other books.  I recently bought a new rug for my living room and I loved the leaf patterns all throughout the rug so I thought I would incorporate the leaves into my end table.  I again used clear contact paper to get the look I wanted.  Who knew contact paper was so cool.

The End Table

065

First thing I did was sand it down and paint the top of it white the color I wanted the leaf to be.

021Then I found a leaf in the carpet that I wanted to copy.  If you look real close you can see the contact paper over the leaf.  I copied it with black Sharpie.

011

Then I cut it out and placed it on the top of the end table.

016

Then I painted over it with dark chocolate brown.

024

Then I rubbed stain all over the end table so that the white wasn’t so bright.

025

BEFORE

065

AFTER


032033043045

Project #1 Burnt Lunch Sack Wreath

Project #2 Sewing Table

Project #3 Sewing Chair