Friday, July 29, 2011

Sparkler Writing

During our family reunion, G&G brought sparklers for the kids to enjoy.  By what followed the next hour or so, I think the parents enjoyed them a little bit more. 

One person can make individual letters to spell out words. Like so…

These were made by my 9 year old daughter.  We are going to blow them up to 8 x10 and then frame them for her bedroom. 

 320321328327

Or you can get a group of people to form longer words or even pictures.  (I missed the picture phase of the evening, sorry)

334

I thought it would be cool to do our last name and blow it up to poster size and frame it really nicely for our den/office or something. (this isn’t quite our last name but you get the idea)

337

bybee

How did we do this? Well we used two different settings on our cameras.

Follow these simple steps

I used the fire work setting on my camera and the pictures were darker and you couldn’t see the people doing the writing as well.   Then everyone just makes the same letter, number or shape over and over again.  Super simple.

334

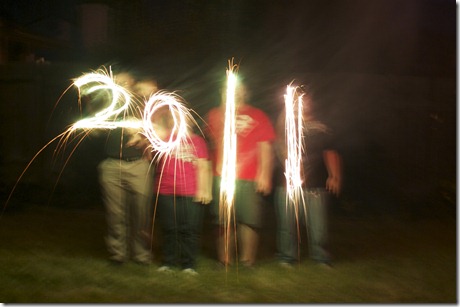
My brother and sister-in-law used a night setting on their individual cameras and you could see the people who were doing the writing. Like so

2011

It was super fun, and really easy to follow. 

Who knew sparklers could be so cool.

Tuesday, July 26, 2011

Easy Purse Cake

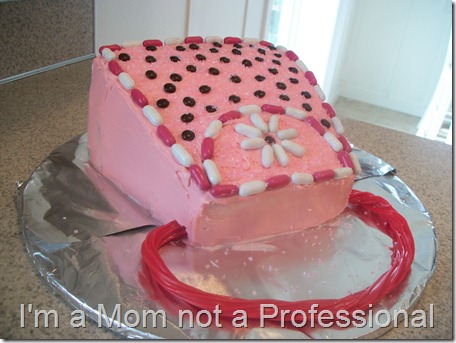
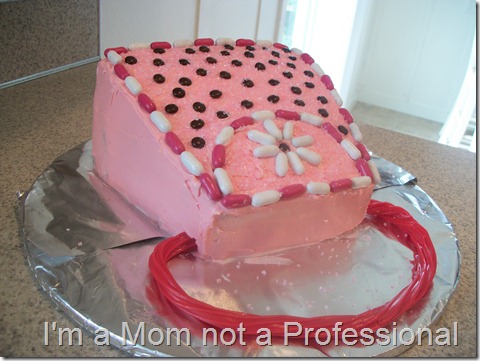
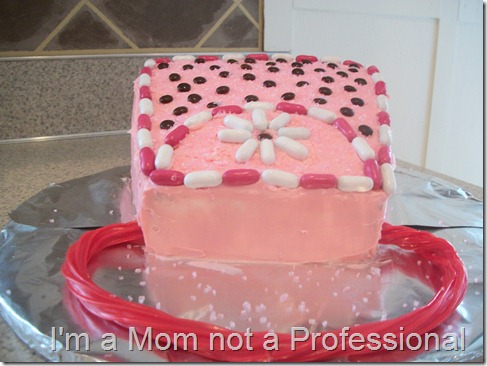
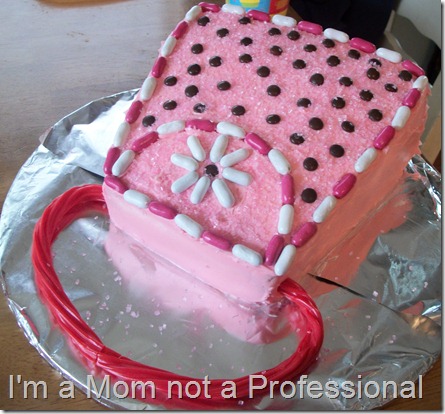
Well the purse cake turned out pretty great for our little princesses birthday yesterday.  She loved it!  Plus, it was super easy to make.  Here’s how

You’ll Need

  • 1 9X13 cake

  • 1 container of pink icing (or whatever color you want your purse to be)

  • assorted candy for decoration.  I used

  • mini M&M’s, licorice,  Good & Plenty, and pink sugar sprinkles.

072

Cutting the Cake

Make sure you cake is really chilled before cutting.  You might want to put it in the freezer for a little while.

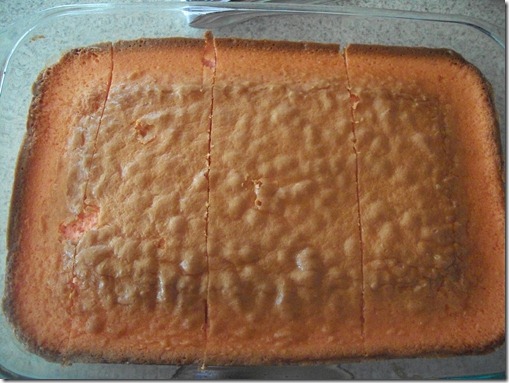
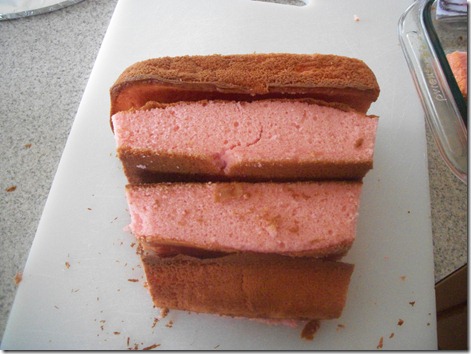
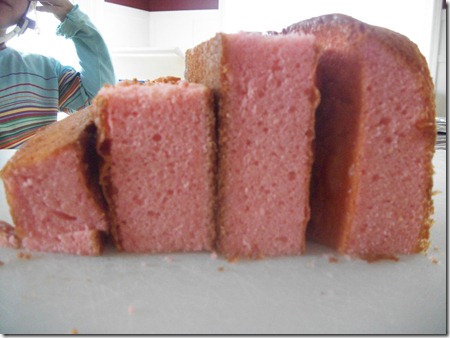
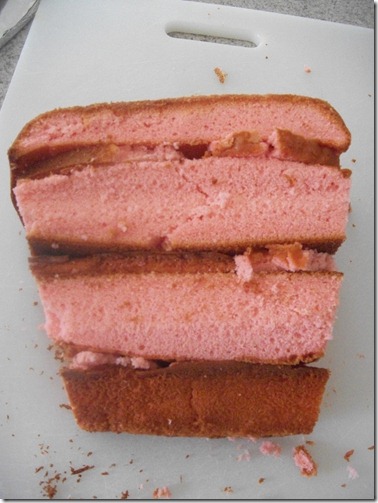
Cut your 9 X 13 into 4 sections each about 1/2 inch shorter than the section next to it.  The largest section should be about 4 inches.

052

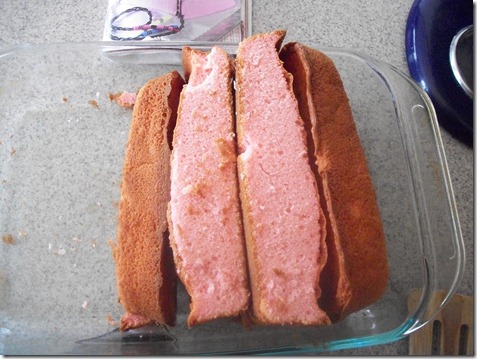
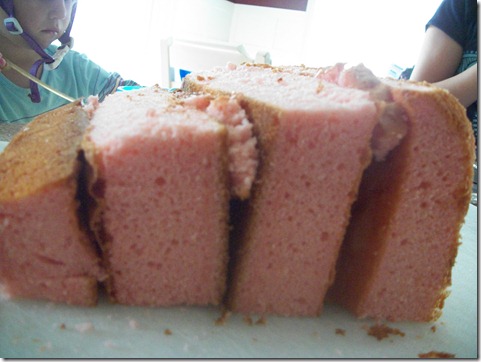
Stack the cake on their sides, to start forming the shape of the purse.  I know it doesn’t look so great now, but don’t worry.

053

I moved my cake to a cutting board at this point and cut the sides at an angle the top of the purse smaller than the bottom of the purse. I didn’t have to cut much off.

I054055

Then I cut down the top of the cake so it would have a nice gradual slope.  Like so

057

If you want you can stuff the cracks with extra cake.

056

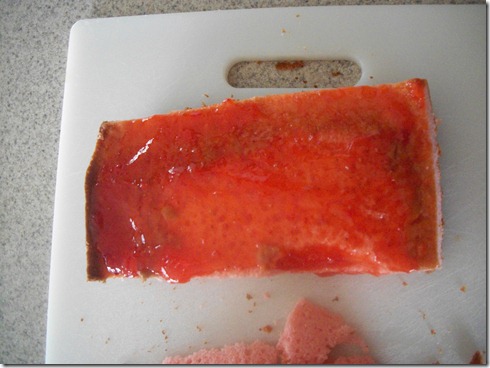
Stick the sections together with your favorite jam. Placing it on your cake board.  After it was all stuck together with jam I placed it back in the freezer for a good 20 minutes before I attempted to ice it.

058

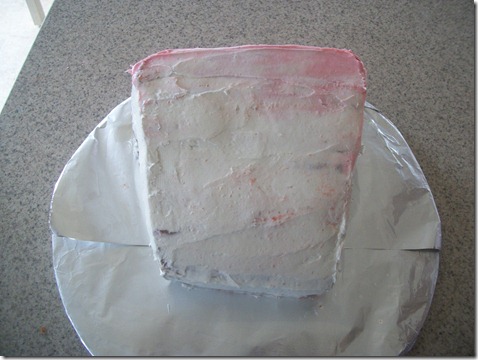
Once it’s out of the freezer I did a light crumb coat with vanilla icing and stuck it back in the freezer for about 5 min.

059

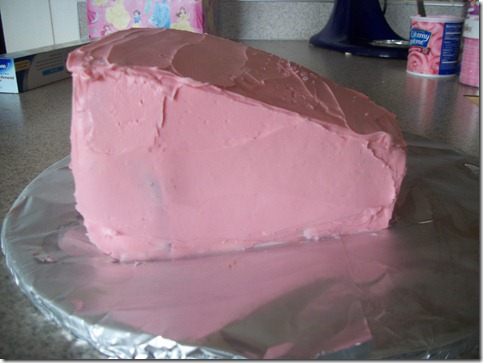
Then I iced it with the pink frosting.  Since my daughter picked a strawberry cake I just used strawberry icing so I didn’t have to tint mine.  It worked out great.   065

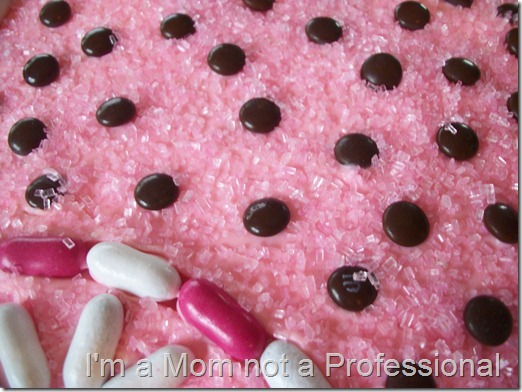
Also I didn’t worry about getting the icing super smooth, because I covered the whole thing in pink sugar sprinkles.  Continue to decorate with whatever candy you would like.

082072076081

This is a great cake for little helpers to help decorate. ENJOY!

Monday, July 25, 2011

Little Doggy Cake

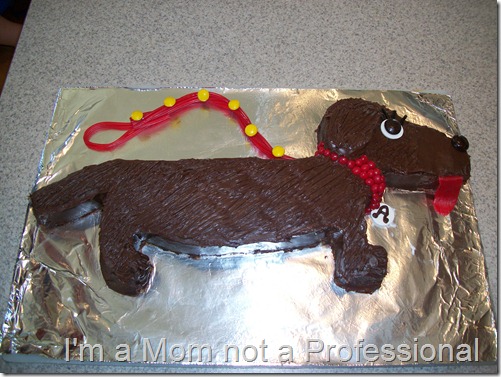
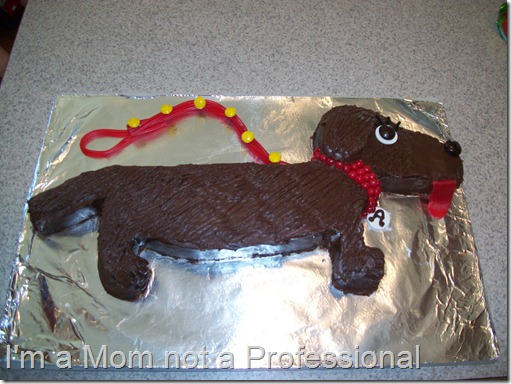
I made this cake for my daughters 2nd birthday.  It’s one of my all time favorites.

You’ll Need

1 9X13 rectangular cake

1 container of chocolate frosting

2 Jr. Mints

2 white Necco Wafers

Red licorice

Black licorice

Red Fruit Roll-Up or Fruit by the Foot.

M& M’s

036

Cutting the cake

Make sure your cake is really chilled before cutting.  You might want to place it in the freezer for a little while.

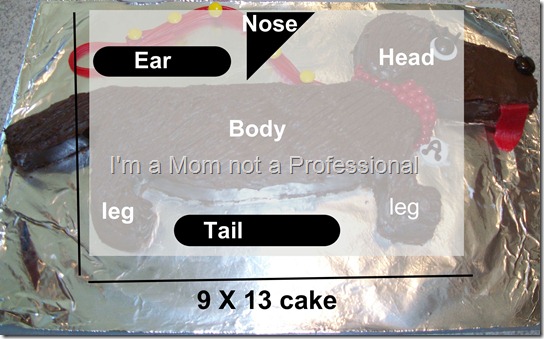
I made this cake before I started blogging and taking pictures of everything.  So hopefully you can see how it’s done.  The white rectangle represents the 9x13 finished cake.  First you cut the body with the legs plus the head (leaving out the nose) out of the cake.  Then with the leftover cake you form an ear, tail and nose. Round off the nose so it looks like a real nose and not like a rectangle.  (make sense??)

doggy-001

Decorating the cake

Once you have all of your pieces cut out you can start the assembly.  Place your ear, nose and tail on the cake.  Ice all of the cake with a light crumb coat and place it back in the freezer for a few minutes.  Once the crumb coat is firm remove from the freezer and continue icing until the cake is completely iced.  Use a fork in make lines in the icing representing the fur.  Add a white Necco Wafer for the eye with a Jr. Mint on top.  Add a Jr. Mint for the nose.  Shape a tongue out of a red fruit roll-up or fruit by the foot. Add red hots for collar and another white Necco Wafer for the dog tag.  I added my daughters initial on the dog tag with chocolate frosting. Use the red licorice for the leash and add M&M’s for decoration on the leash.  Use the black licorice for the eye lashes.  All finished!

037

I was really happy with how it turned out.  Today is actually her 3rd birthday and she wants a purse cake.  If it turns out I’ll share that with you too! Happy birthday sweetie pie!!!

Saturday, July 23, 2011

I’m back!!

I have been out of town on vacation for 2 weeks!  We had an awesome time.  First we were at my family reunion and then at my husband’s family reunion. Both were in Utah, so it worked out great.  I have a few fun things to share with you from the family reunion’s, and some great recipes from girls camp.  Can’t wait to get started!! BUT first I need to unpack and sort out my laundry & garden.  See ya soon!!!

Friday, July 8, 2011

Swim Cover +

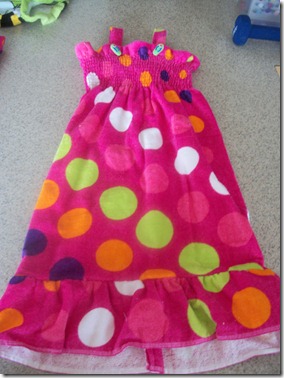
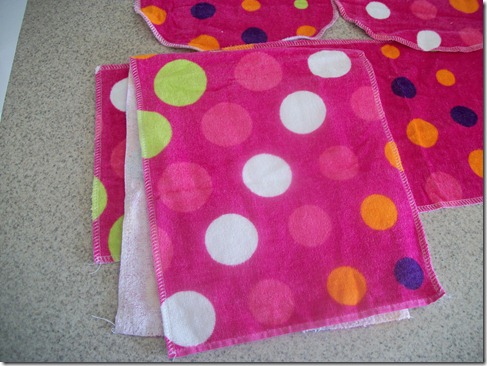
I was digging around in my closet when I found these super cute towels I got on clearance last year for $2.00!  Then it made me think that my youngest girl really needed a new swim cover, since she grew out of the one I made her last year.   I followed my awesome friend Sharon over at This Thrifty House great tutorial you can find it here.  If you haven’t been over to Sharon’s awesome blog you should go visit!  She has tons of awesome stuff and great ideas.  PLUS she just bought a new house and has tons, and tons of great projects lined up to show off.  I was just over to her house today and was really impressed with all that’s going on.  Seriously go check it out!

On to the swim cover

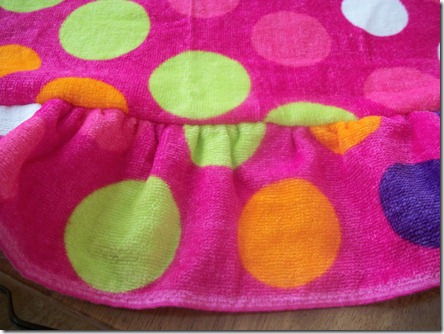
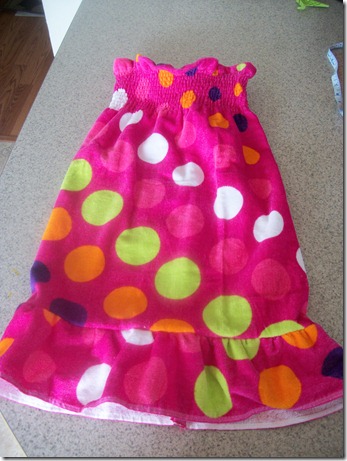
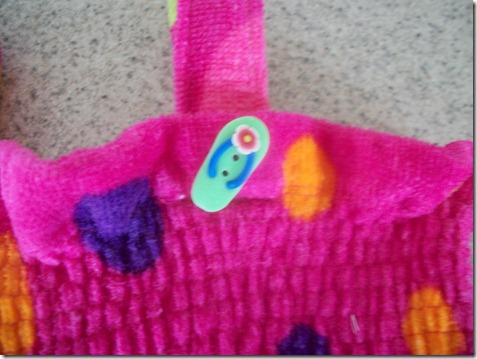
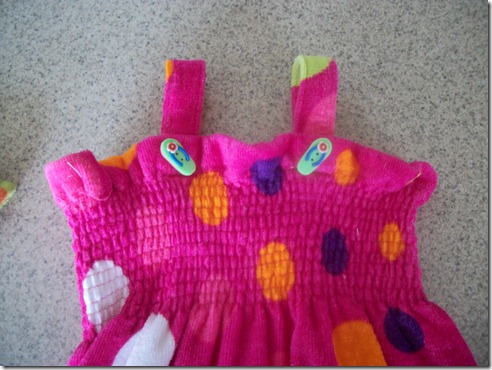
I’m not going to give you the full details, you can go check out the tutorial if you want to make one.  The only thing I did differently is to add a little ruffle on the bottom of the swim cover, and a couple of cute buttons.  It really is super easy and cute.  They work perfect.  Happy Summer!!

008014018019020

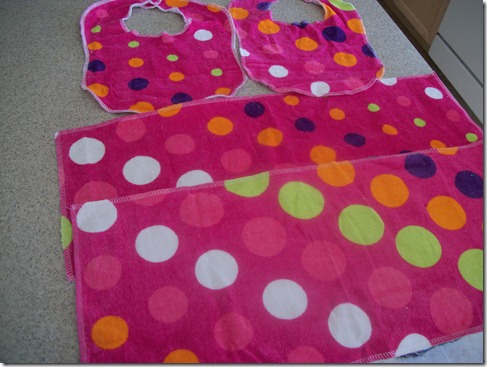
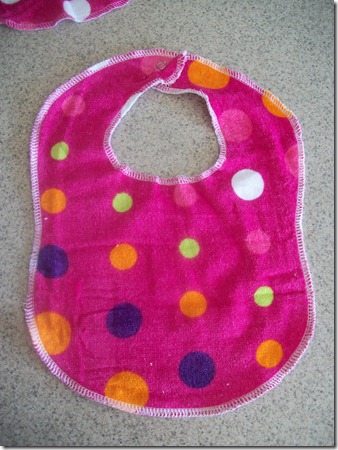
I had enough extra towel to make a couple of bibs & 2 burb rags for my sister’s baby. I just surged the edges and added a snap on the bibs.  Nothing fancy, just a good use of left over towel.
024025027

Thursday, July 7, 2011

Mango Freezer Jam

I lOVE mangos. Last year I decided I wanted to make some mango freezer jam, and I searched high and low for a recipe that just used mangos.  I couldn’t find one, so I ended up creating one.  This year the box of pectin I bought had a recipe in it.  I made that recipe and it worked out just as awesome as it did last year.  Freezer jam is super yummy, super fast and super easy. You'll need
021

1 box of pectin

3/4 cup of water

*5 cups of sugar

3 cups of smashed mango pulp.  (about 4 medium)

1/4 cup of lemon juice.

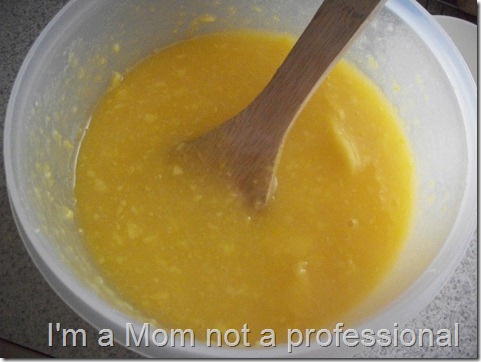
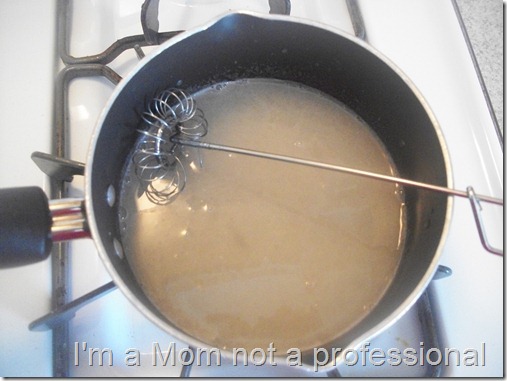
Measure exact amount of mango pulp in a large bowl, add lemon juice and exact amount of sugar.  Mix and let sit for 10 minutes, stirring occasionally .  After 10 min, in a small sauce pan mix the box of pectin with 3/4 cup of water, bring to a boil over high heat.  Boil hard for 1 minute.  Poor pectin into fruit mixture and stir until all the sugar is dissolved about 3 min.  Poor into clean freezer containers and let sit on the counter for 24 hours.  Then place them in your freezer for up to a year or in your refrigerator for up to 3 weeks.

The fruit mixture

007

The pectin

009

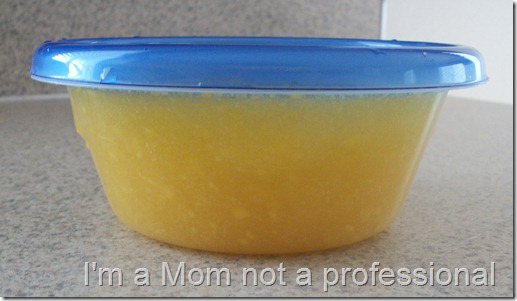
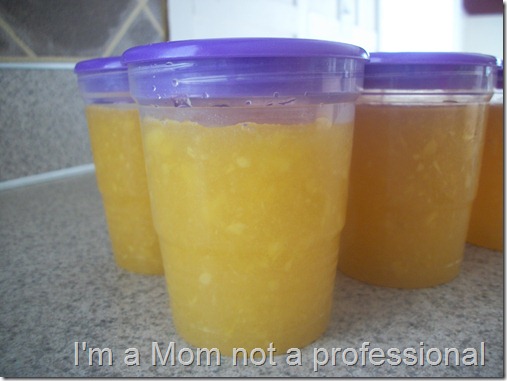
The jam.

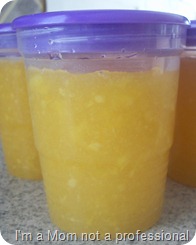
I ended up with 6 of these little guys

021

plus and extra 2 cups.

022

Enjoy!

Next I’m making strawberry/mango, and then strawberry/raspberry.  YUM!

Tuesday, July 5, 2011

Sunflower Playhouse

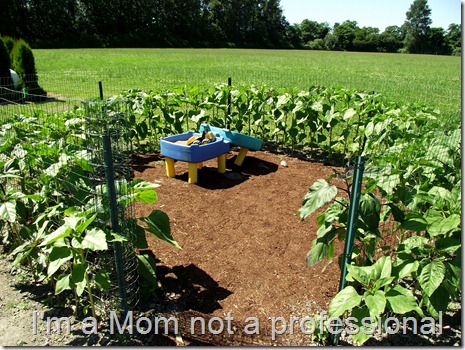
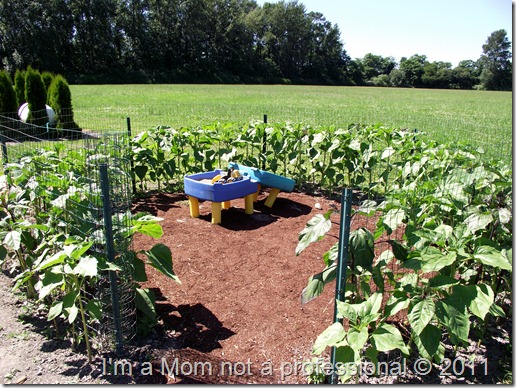
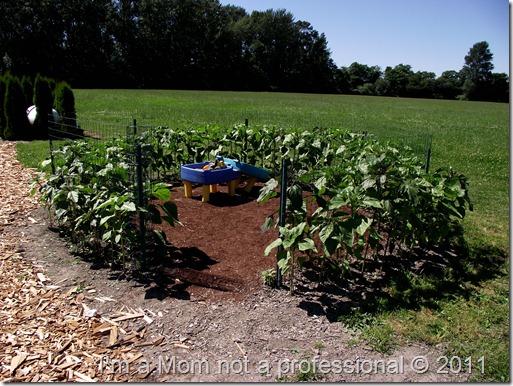
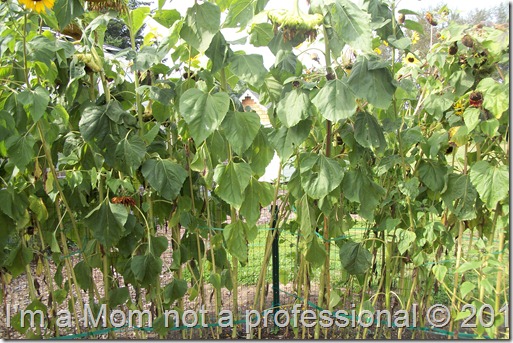
Wouldn’t this be so awesome to have in your backyard! Someday I will have one.  I found this at a local park last year and fell in love with the idea.  I wish I had room for one, I don’t but I thought I would share it with you incase some of you do.  I should have shared it sooner, but you still might have time to get one in this year depending on where you live.

079

It looks pretty easy.  They have 6 metal poles and some fencing that they have set up in a circle, leaving and opening for the door.  Then they planted a circle of sunflowers on the inside and the outside of the fencing.

081080082

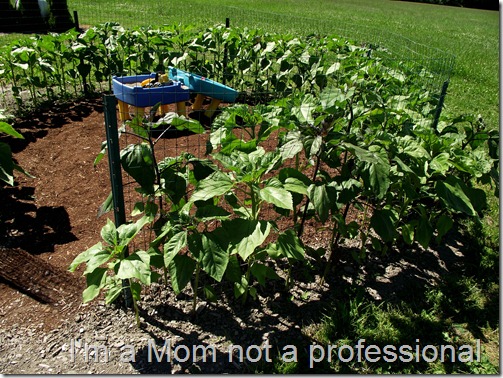
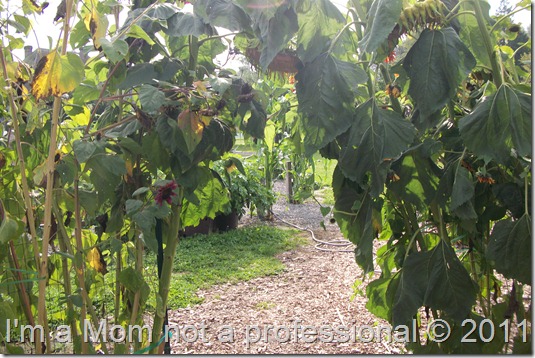
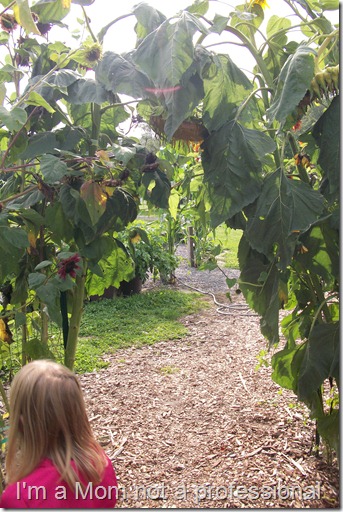
Eventually the sunflowers enclose this little playhouse really nicely.  The sunflowers are really tall ones I would guess 6-8 feet.

083

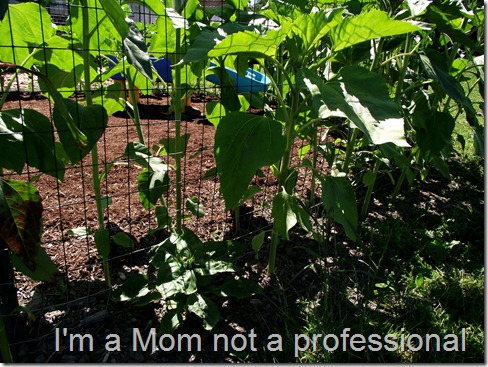
Fast forward a few months and you have an awesome playhouse.  This is a view from the inside of the playhouse looking out.  I took these pictures last fall, I thought I had some from the outside but I can’t find them.

014015016

Hopefully you can get the idea of how cool this looks.  I'll go back in a few months and take more pictures.