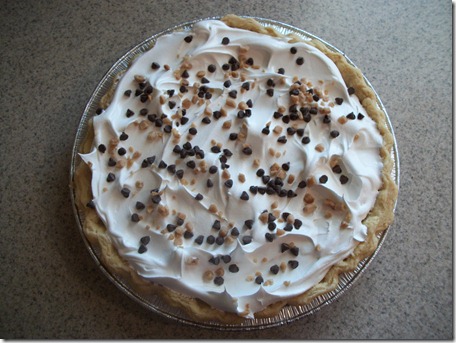
So some of you might be wondering whatever happened with the pies and the most important thing… finding out which pie was the winner!! WELL I am still waiting for one judge to turn in their verdicts. AND there are 3 pies with extremely close scores so I actually need to get the last judges opinion in order to declare a winner. It is some seriously close numbers people. I can’t wait to see who wins!! Stay tuned!
Wednesday, December 21, 2011
Tuesday, December 13, 2011
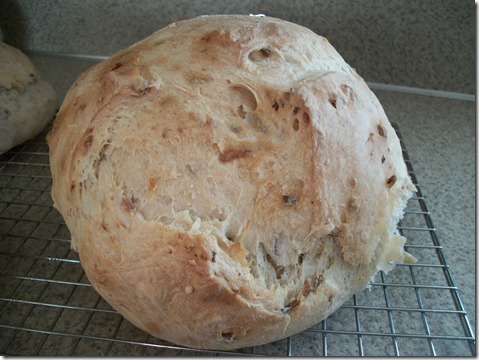
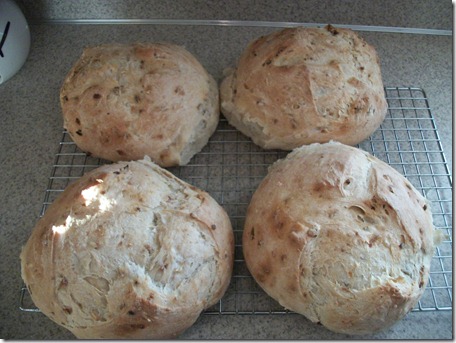
Christmas Un-treats!! Bacon, Onion, Artichoke Artisan Bread
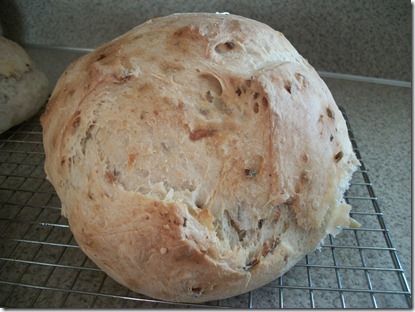
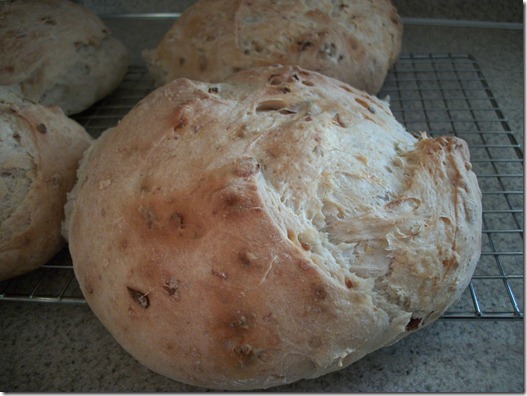
So I was trying to come up with something, yummy but not sugary it give out to our friends and neighbors this year. Then I remembered how easy it was to make the Artisan bread, that I tried way back in August. So I set out yesterday making a few batches. The first two batches I just made regular plain ol’ bread. But then I had an idea to add some other flavors, and this is what I cam up with,
Bacon, Onion, Artichoke Artisan Bread
Ingredients
3 cups of warm water
2 TBS. of yeast
1 Tbs. of salt (just under)
6 1/2 cups of flour
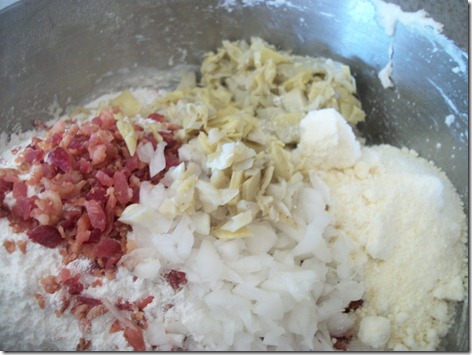
1/3 cup of chopped bacon
1/3 cup of chopped onion
1/3 cup of chopped artichoke hearts ( I used canned ones)
1/3 – 1/2 cup of grated parmesan cheese.
Directions
Add water, yeast and salt to a large mixing bowl. Then add the remaining ingredients. Mix, the dough will be really wet. Let rise for about 2 hours. Place baking stone in your oven with a shallow pan underneath of it. Preheat the oven to 450 degrees. Punch down your dough and add just enough flour to your hands and dough to form a nice tight ball. You should get 4 loaves from each batch, place your loaves on parchment paper on a side less cookie sheet. Allow your loaves to rise for 30 minutes. Then they have risen 30 minutes cut slits in the top of your loaves. Slide the loaves including the parchment paper onto the heated baking stone. Then add a cup of water to the pan underneath the baking stone. Bake your loaves for 30-35 minutes. Remove from the oven and let cool completely.
We handed these out with a bottle of balsamic vinaigrette for dipping. They turned out so yummy I feel bad that most people got the plain ones, but I didn’t get to everyone yet, because I had to run errands yesterday, I could only make 12 loaves. I planned on finishing today but my poor little 3 year old spent the night and morning sick, so I’ll have to finish another day.
Enjoy!!
P.S. Since I made these last week I have tried a new combo
- Bacon Jalapeno Cheddar
Next I want to try
- Rosemary Olive Oil
- Sundried Tomato Basil
any other suggestions?
Thursday, November 24, 2011
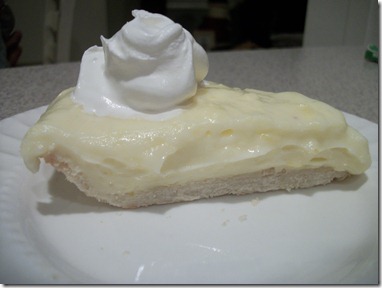
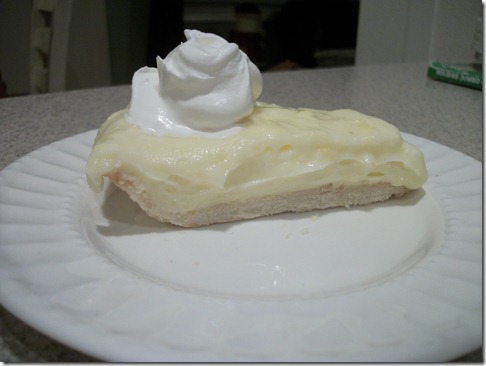
Pie # 24 Sour Cream Lemon Pie
The LAST PIE is from Kelli who says this about her pie. "This pie is kind of a legend in my family. When we were kids, my mom entered it in a "Country Women" magazine pie competition, and it won grand prize! True story. I'm not even trying to bias the judges." You can check out all of Kelli’s awesome creations over at easy peasy lemon squeezy.
Ingredients
1 c sugar
1/4 c butter
1/2 c lemon juice
1 c milk
1 c whipping cream
3 1/2 tbs cornstarch
1 tbs lemon rind
3 egg yolks
1 c sour cream
Directions
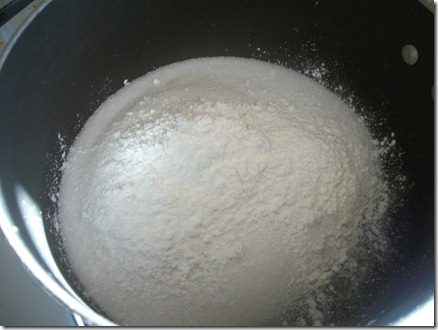
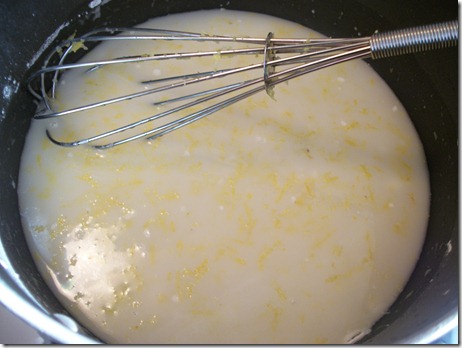
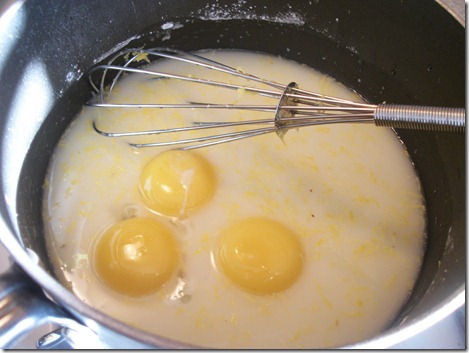
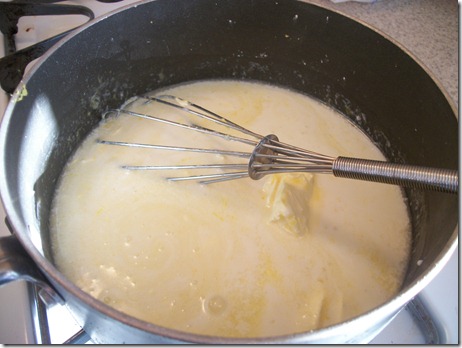
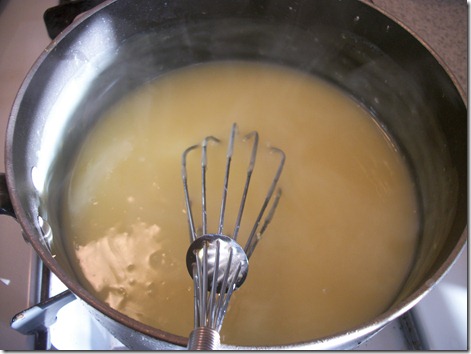
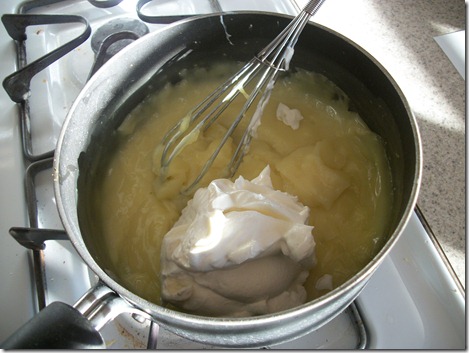
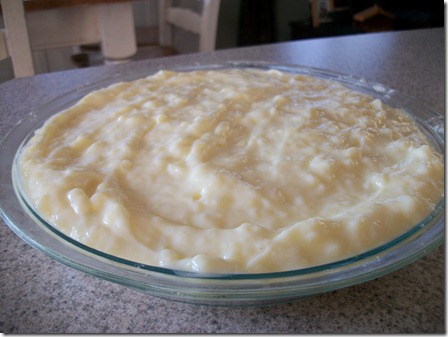
Combine the sugar and cornstarch in a saucepan on the stove. Whisk in the lemon juice, rind, and egg yolk. Add the butter and while it melts, mix in the milk. Cook over medium heat. Let it bubble for at least 2 minutes until it gets thick. Add the sour cream when the lemon pudding has cooled completely. Pour into baked pie shell and top with whipped cream. Best served completely chilled.
This pie is very easy to make, and super yummy to eat. Kelli recommends eating it for breakfast and I couldn’t agree more!
ENJOY!!
Wednesday, November 23, 2011
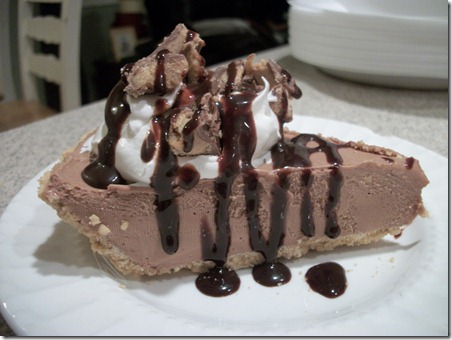
Pie #23 Chocolate Peanut Butter Pie
This next recipe comes from Stephanie. She is a SAHM of 3 awesome kids, the youngest she just had last week! Stephanie recently was awarded the North Dakota Mother of the Year! And if you know Stephanie at all, you’ll know that she more than deserved it. One thing I know about Stephanie is that she is a lover of chocolate, and this pie does not disappoint.
Chocolate Peanut Butter Pie
Ingredients
2 oz. unsweetened baking chocolate
1 can sweetened condensed milk
1/2 cup creamy peanut butter
1 cup whipping cream
1 tsp. vanilla
1/4 c. powdered sugar
1 prepared pie crust
Directions
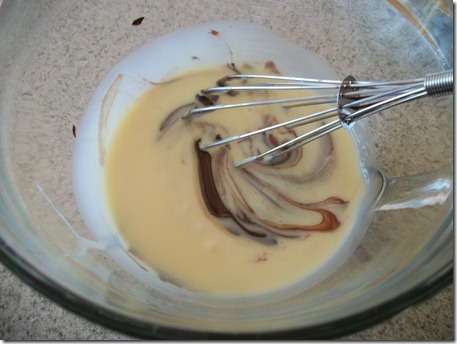
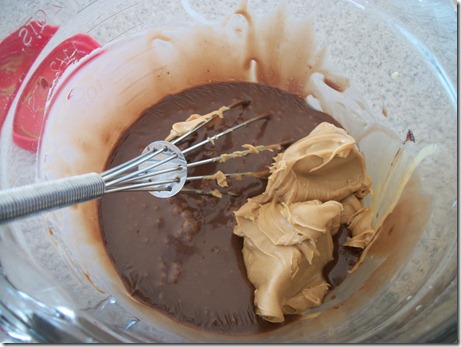
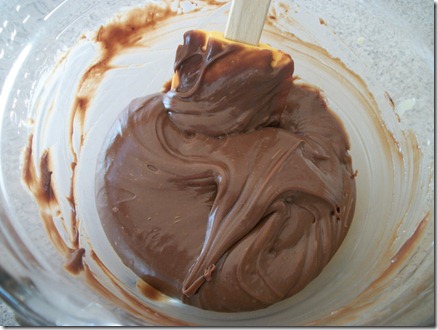
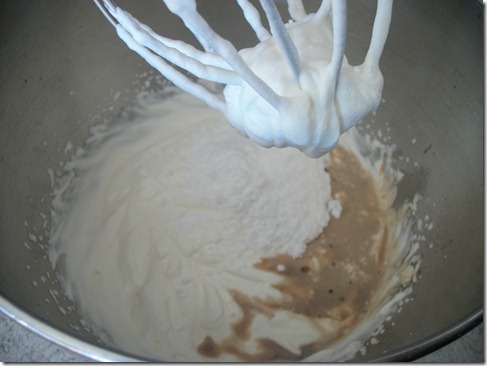
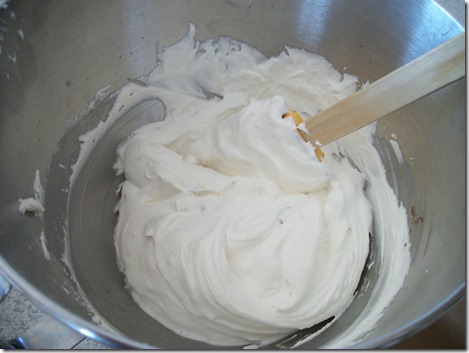
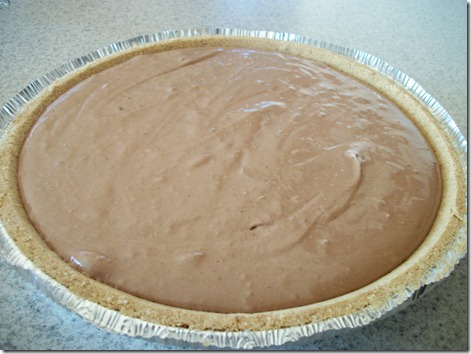
Melt chocolate. Add sweetened condensed milk and stir them well. Mix in the peanut butter and create a nice, smooth mixture. Set aside. In a separate bowl, whip the cream until light and fluffy (don't overbeat or you'll get butter); when whipped, add vanilla and powdered sugar. Mix in. Using a rubber scraper, fold the chocolate mixture into the whipping cream; scoop from the bottom of the bowl and lift to the top, turning the bowl and repeating until the two mixtures are fully combined and there are no more white spots. Pour the filling into the pie crust and put into the freezer for several hours (ideally, 6-8) until fully set. Top with whipped cream, grated chocolate, drizzled melted chocolate or any other garnishes you'd like.
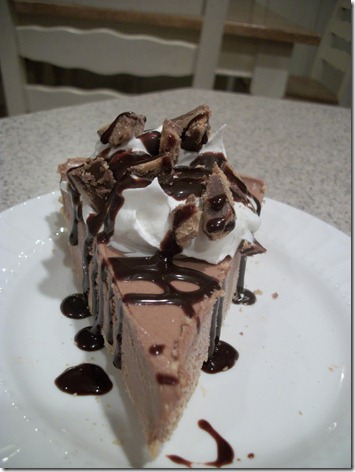
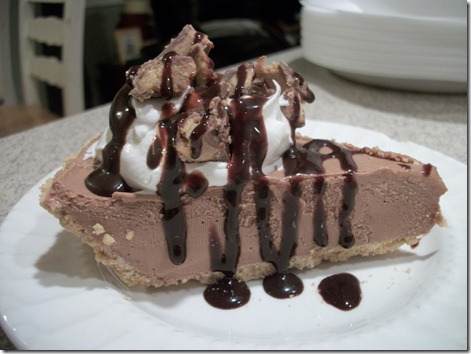
This pie was super easy to make and I love that it’s a frozen pie. I topped this pie with Cool Whip chopped peanut butter cups and chocolate syrup all I can say is that It is deliciously sinful!!
ENJOY!!
Tuesday, November 22, 2011
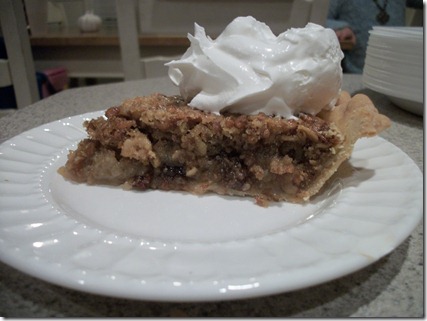
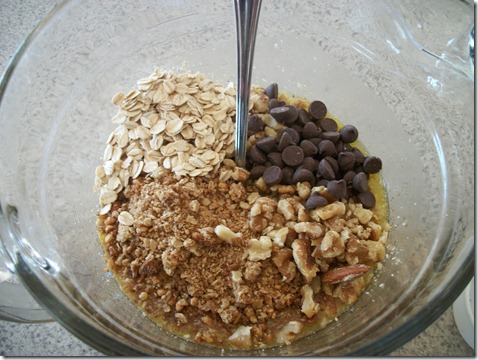
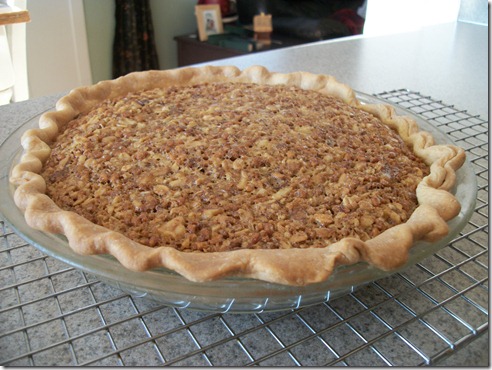
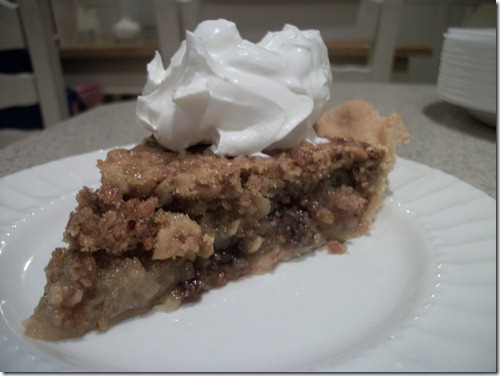
Pie # 22 Oats' N Honey Granola Bar Pie
Okay so this is my pick. I saw this pie won the Pillsbury Bake-off back in 2004 and I have wanted to try it ever since. So I’ll just be making and reviewing this pie, it won’t go to the judges. But I’m so excited to finally try it after 7 years of wanting to!!
Ingredients
- 1 pie crust
- 1/2 cup butter or margarine
- 1/2 cup packed brown sugar
- 3/4 cup corn syrup
- 1/8 teaspoon salt
- 1 teaspoon vanilla
- 3 eggs , lightly beaten
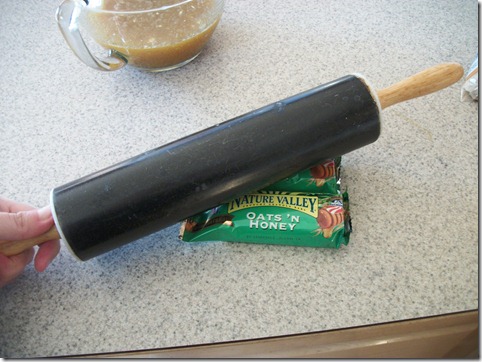
- 4 Nature Valley® Oats 'n Honey crunchy granola bars (2 pouches) crushed. To easily crush granola bars, do not unwrap. Use rolling pin to crush bars.
- 1/2 cup chopped walnuts
- 1/4 cup quick-cooking or old-fashioned oats
- 1/4 cup chocolate chips
- Whipped cream or ice cream , if desired
Directions
Heat oven to 350°F.
Place piecrust in 9-inch glass pie pan as directed on box for One-Crust Filled Pie.
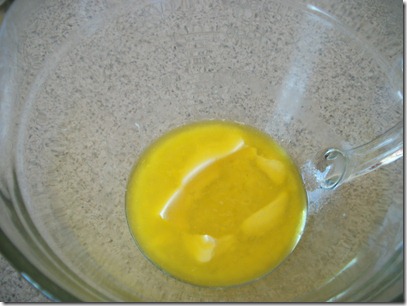
In large microwavable bowl, microwave butter on high 50 to 60 seconds or until melted.
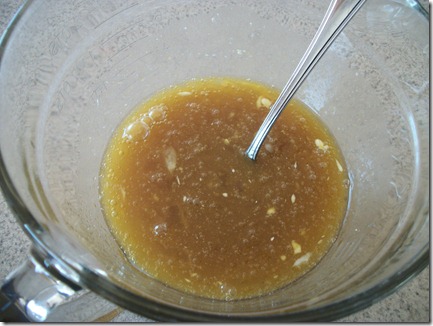
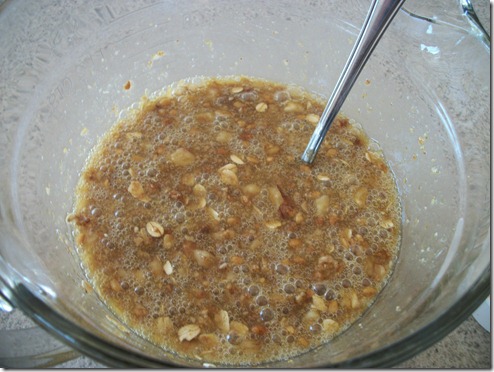
Stir in brown sugar and corn syrup until blended. Beat in salt, vanilla and eggs.
Stir crushed granola bars, walnuts, oats and chocolate chips into brown sugar mixture. Pour into crust-lined pan.
Bake 40 to 50 minutes or until filling is set and crust is golden brown. During last 15 to 20 minutes of baking, cover crust edge with strips of foil or pie shield to prevent excessive browning.
Cool at least 30 minutes before serving. Serve warm, at room temperature, or chilled with whipped cream or ice cream.
Store in refrigerator.
This pie was good, but I probably wouldn’t make it again. It’s just not my kind of pie. I you are a lover of pecan pie then you would probably love it. I am glad I finally tried it and can cross it off my To Do list.
ENJOY!!
Monday, November 21, 2011
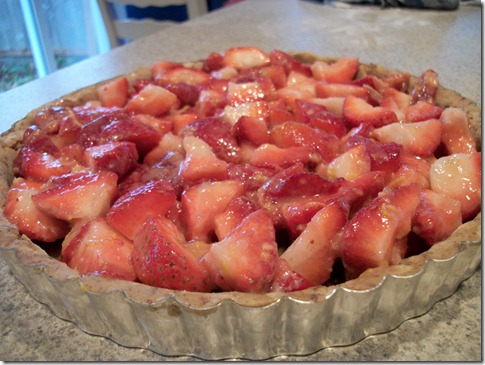
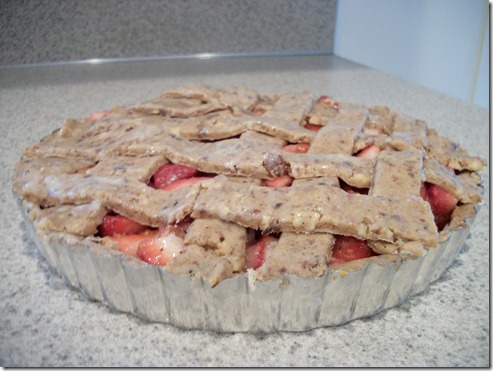
Pie #21 Strawberry Tart w/ Hazelnut Pastry
This next pie comes from Emma @ Emma Cooks and Crafts. Emma just combined a couple of her blogs to form Emma Cooks and Crafts. You should hop over there and support her new blog, because she is on talented lady! Take it away Emma!
Hi, I'm Emma. I have always liked food, but wasn't a good cook or baker until I learned the fundamentals at culinary school. I studied both cooking and baking, but prefer baking the sweet stuff. I started blogging to share my family with our friends and family that live far away. Then I started blogging about crafts and cooking to share what I love to do in (my very little) spare time. I like this tart because of the different crust. I like recipes that have just a slight change from the regular. I am actually not a pie person, but this is on the border of almost a pie, so I thought I would submit it for Jaime's great bake-off and hope it made the cut.
Strawberry Tart with Spiced Hazelnut Pastry
Recipe adapted from the December 2010 edition of Gourmet Traveller.
Filling
2 cups strawberries, trimmed and chopped
1/3 cup superfine sugar
2 ½ TBS. corn flour
grated rind of 1 orange
seeds of 1 vanilla bean or 1 teaspoon of vanilla bean paste
Pastry
¾ cup + ½ tbs. of unsalted butter, at room temperature
4/5 cup of powdered sugar, sifted
grated rind of 1 lemon and 1 orange
3 egg yolks
2 cups plain flour
1 ¼ cups ground hazelnuts
2 teaspoons ground cinnamon
1 teaspoon ground nutmeg
a really good pinch of ground cloves
1 teaspoon of baking powder
Directions
1. Pastry: Beat butter, icing sugar and orange rind in an electric mixer until pale and fluffy (4-5 minutes), add yolks and beat to combine. Add remaining ingredients and mix until just combined. Form into a disc, wrap in plastic wrap and refrigerate until firm (2 hours).
2. Roll two-thirds of hazelnut pastry to 1/8 inch-thick on a lightly floured piece of baking paper and line a 9 inch tart tin. Trim edges and refrigerate until firm (30 minutes). Roll out remaining dough on a lightly floured piece of baking paper to a rough 9 inch-long rectangle, place on an oven tray and refrigerate until firm (30 minutes).
3. Preheat oven to 350. Combine strawberries, sugar, corn flour, rinds and vanilla seeds in a bowl and fill pastry case.
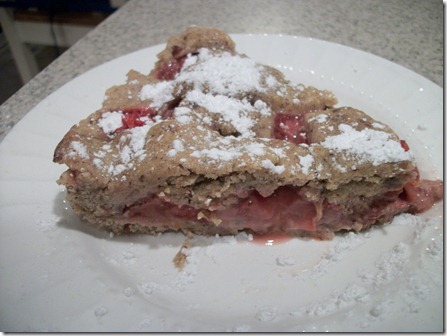
4. Cut remaining pastry lengthways into ½ inch -thick strips and form a lattice pattern over strawberry mixture, trimming overhanging ends. Brush pastry with egg wash, bake until crisp and golden (30-35 minutes), cool in tin for 30 minutes then remove and cool to room temperature. Dust liberally with icing sugar before serving.
It makes a beautiful crust! Which I had a lot of leftover, so I just rolled out the leftover crust and cut it into squares, sprinkled with sugar, and baked in a 350 degree oven for 10 minutes, they were really great.
I don’t want to scare you away form this, but with the spices, orange, and nuts this pie smells and tastes a lot like fruit cake…only good! I know my hubby will love this, because he LOVES fruit cake, it’s like his favorite holiday treat. So if you have a spare moment or two you should give this little tart a try.
ENJOY!!
Sunday, November 20, 2011
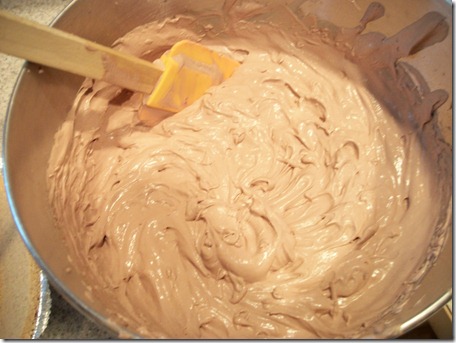
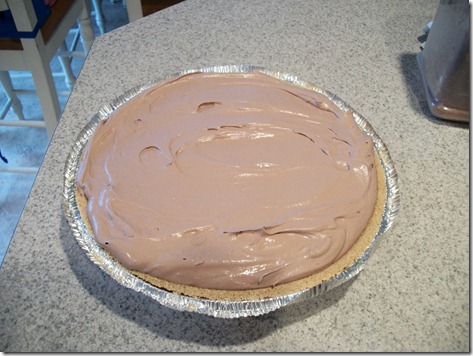
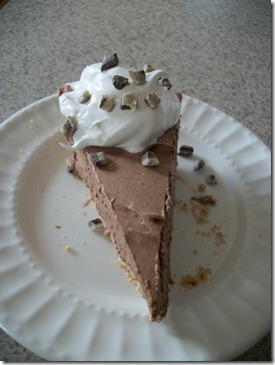
Pie #20 Chocolate Magic Mousse Pie
This next pie comes from Sharon over at This Thrifty House. Sharon is a SAHM of 4 great kids, and is a seriously talented person. You can check out all of her great projects on her blog This Thrifty House. This is what Sharon had to say about her pie. **This is one of my favorite desserts to make--one reason is that it takes almost no time to make and the other is that everyone LOVES is. It also can be made to be eaten without the crust! Pour the mousse into an elegant glass dish--garnish it with a little whipped cream and some chocolate and serve it by itself! I have tried a lot of mousse recipes in the past and most of them are very complicated and require raw eggs--which always kind of grosses me out. This one has no egg and is SO easy--but tastes like the real deal--no one will ever know that you haven't spent all day in the kitchen preparing it! Hope you like it too!
Chocolate Mousse Pie
Ingredients
1 envelope unflavored gelatin
2 Tbs cold water
1/4 c boiling water
1 c sugar
1/2 c cocoa
2 cups whipping cream
2 tsp. vanilla
1 graham cracker pie crust
extra whipped cream for topping
Directions
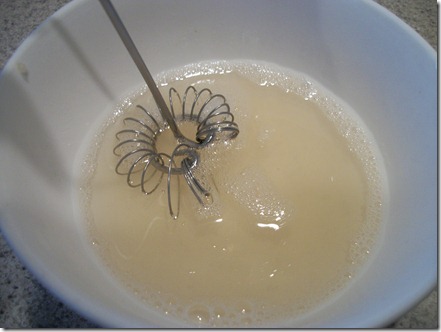
Sprinkle gelatin over cold water in small bowl. Let stand 2 minutes to soften. Add boiling water; stir until gelatin is completely dissolved and mixtures is clear. Cool slightly
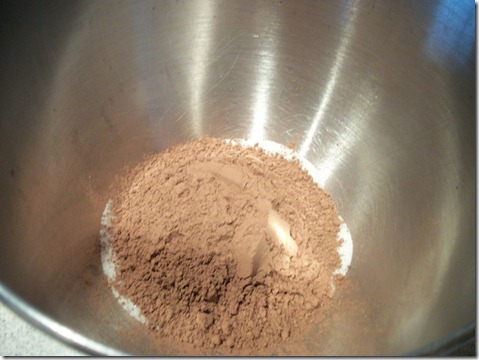
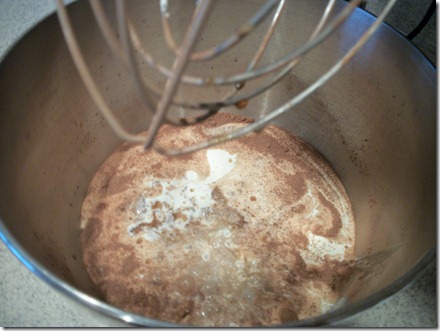
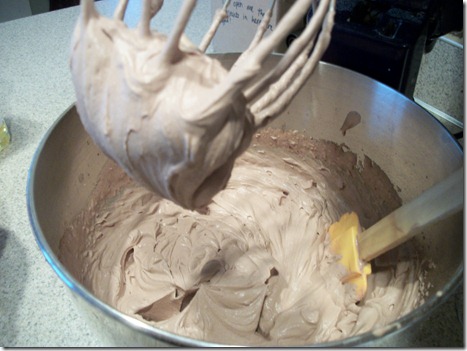
Mix sugar and cocoa in a large bowl; add whipping cream and vanilla. Beat on medium speed until stiff. Pour in gelatin mixture; beat until well blended. Spoon into prepared crust. Refrigerate for 3 hours. Garnish (or top completely) with whipped cream.
When I was making this pie and got the sugar, cocoa, whipping cream, vanilla, nice and stiff, I was wondering what the purpose of the gelatin was. I tasted the filling and it tasted fine, it looked good, so I couldn’t imagine that the gelatin would change it all that much. BUT IT DOES! It’s good before the gelatin, but GREAT after. It’s a subtle change but an important one, and one you shouldn’t leave out.
This pie was fast easy and yummy!
ENJOY!!

